Crop
The Crop tools define an area of the display for exporting and printing as well as for cropping. You can crop the image by clicking Crop, or define an area for exporting and printing single images.
If you crop the image, a new image of the cropped area is created. The original image remains unchanged.
Modify the Crop Area
This action is used to define an area to display when exporting or printing an image for publication.
- Display the image that you want to define.
-
Click the Modify in the Print/Export Area group. The crop area is outlined in a dotted line with a box on each corner and a box in the center. The Modify Image Print/Export Area dialog is also displayed. You may need to move the dialog if it is blocking the view of the crop area.
You can change the color of the crop outline while it is selected by clicking Edit Color... at the top right of the dialog.
- Click the box in the center to move the entire crop area by using the four-pointed arrow to drag it to the area you want cropped.
- Click one of the boxes in a corner to resize the crop area by dragging the double arrow (up or down or right or left).
-
When you have set the crop marks the way you want, select whether to apply the crop area to the current image or to all the images in the Images table. Select Only adjust size and the same crop area will be applied to all of the images. Select Adjust size and location to apply the same crop area in the same location on all the images.
- Click OK. Click Apply in the Image tab to highlight the button. The crop area is defined for printing or exporting. The image is not cropped.
Crop the Image
The Crop button uses the crop marks on the current image to create a new cropped image. You can modify the crop marks first.
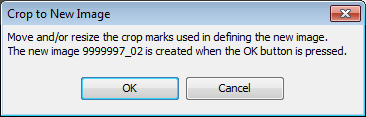
- Click the Crop button in the Create group. The Crop to New Image dialog is displayed and the crop area is outlined in a dotted line with a box on each corner and a box in the center. Adjust the crop area in the same ways as described in Define the Crop Area above.
- Click OK. A new image of the cropped area is created.