Create a Lab Book Report
-
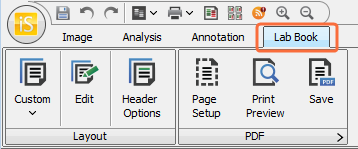
Ensure the Lab Book tab is visible.
-
In the Layout group, click the Layout Template list and select the layout closest to what is needed.
(Preview the selected template by clicking Print Preview in the PDF group.)
-
Click Edit.
The Lab Book Layout Editor dialog will open.
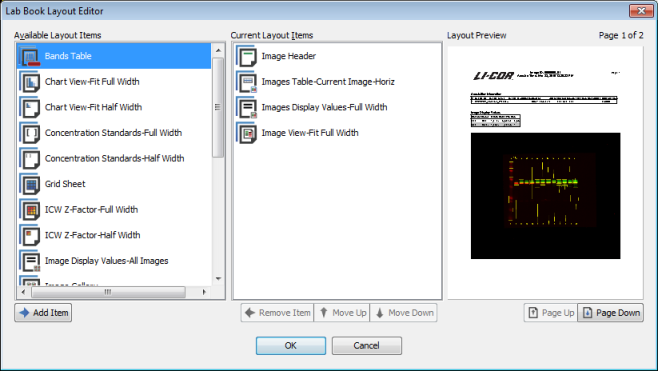
- The Available Layout Items column displays content currently used in the layout.
- The Current Layout Items column displays content that can be added to the layout.
- Point to an item in the Available Layout Items column to pop up a short description of the entry.
- Click once to highlight the item in the Available Layout Items column.
-
Click Add Item below the Available Layout Items column.
The item will be added to the bottom of the list in the Current Layout Items column. If an item in the Current Layout Items column is highlighted, the new item will be added above the highlighted one.
Use the Layout Preview to see how the new item will appear in the layout.
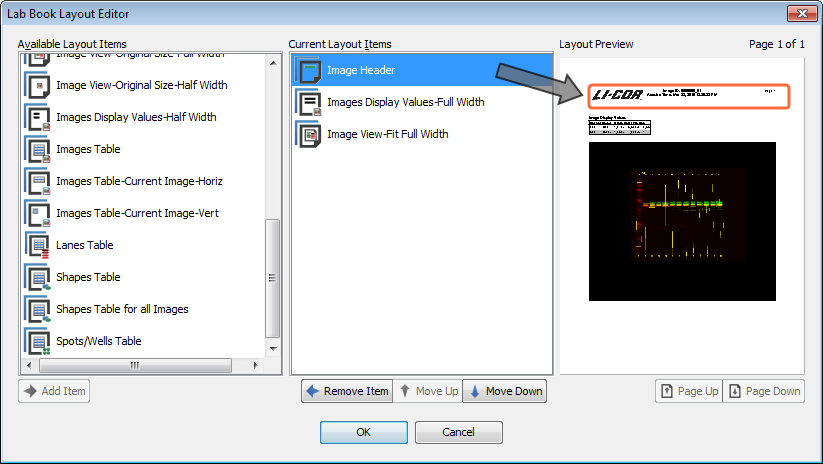
The header will always remain at the top of the page, even if its position is changed in the Current Layout Items column.
- Click once to highlight an item in the Current Layout Items column.
- Click Move Up or Move Down to adjust the item's position in the layout. The Layout Preview will change to display the new layout.
-
If many items have been added to a layout, it may be necessary to use the Page Up or Page Down buttons below the Layout Preview to see where items appear in the layout.
- Click once to highlight the item in the Current Layout Items column.
-
Click Remove Item below the Current Layout Items column.
The item will be removed from the Lab Book layout.
- Click OK to apply changes.
- Click Print Preview in the PDF group to view how the Lab Book will appear when it is saved.
Move a layout item up or down in the Current Layout Items column to change the item's position in the layout.
The header will always remain at the top of the page, even if its position is changed in the Current Layout Items column.
After changes have been made to a layout, the layout in the Layout Template list will become Custom. Changes have not overwritten any existing layout.
To save the custom layout for future use:
- Click the Layout Template list.
-
Click Save Current Lab Book...
The Lab Book Name dialog will open.
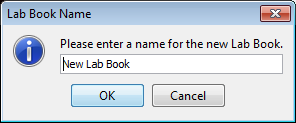
- In the Lab Book Name dialog, enter a name for the new Lab Book.
- Click OK to save the layout.
The new Lab Book layout will be added to the Layout Template list.